|
The dissection of a Highway One Fender Stratocaster guitar.
On this page I am going to tear down an American Highway One fender Stratocaster guitar. I’ve found over the years that the only way to learn how something works is to tear it apart. For you purists get over it, it’s a Highway one, not a limited edition Eric Clapton. 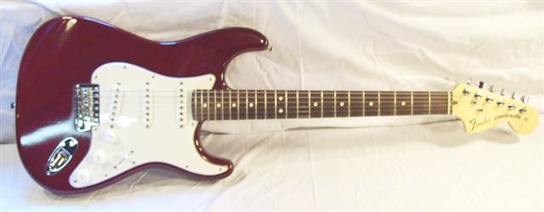
This is not just an exercise in the gross anatomy of a Fender stratocaster, it will also serve as a good reference when putting a strat, or any other electric guitar, back together from any stage, or building an electric guitar from scratch. The first thing I’m going to do is remove the strings. Next flip the guitar over and find the neck plate. 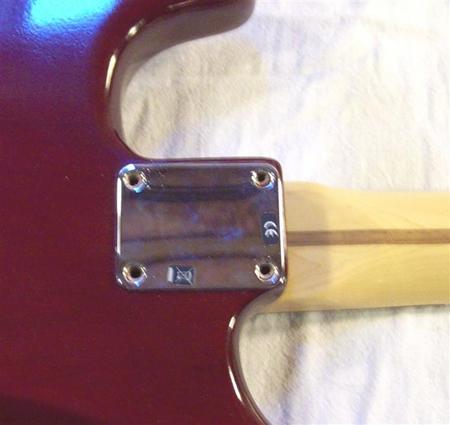
Using a Philips head screwdriver remove the four screws from the neck. Be careful when removing the screws not to strip out any of the metal where the screw driver meets the screw. When installing the neck plate, and neck, be sure to tighten the screws in a cross hatch pattern. Meaning don’t tighten one screw fully, and then go to the next. Try and tighten all screws at the same time. I don’t have any kind of torque rating for tightening, but snug is good. Set the neck plate, and screws, to the side turn over the guitar carefully, and gently separate the neck from the guitar. 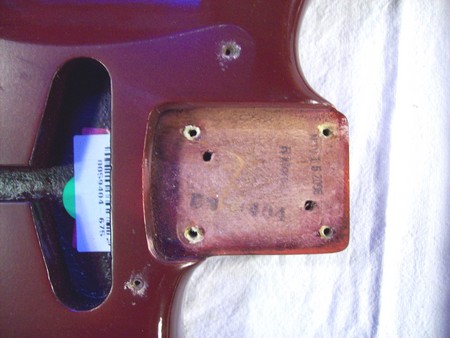
Note that the neck pocket above contains a date of manufacture. Once you have the body and neck separated you can either work on the neck or body. We’ll do the neck here, and get that out of the way. Below is a photo of the back of the neck that inserts into the neck pocket. Note the label that gives the date of Manufacture and who made it. The round metal plug seen is the anchor for the truss rod. 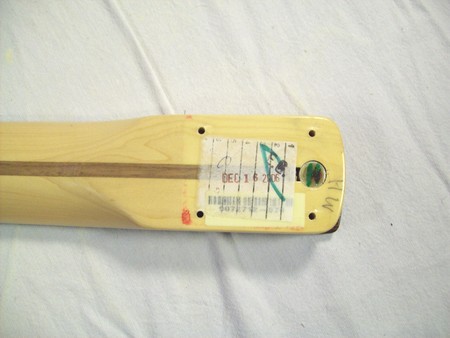
The photo below shows the back of the headstock with the tuners in place. These tuners are more modern versions with a distinct lack of visible screws holding the tuners in place. Also note the serial number burned into the headstock. 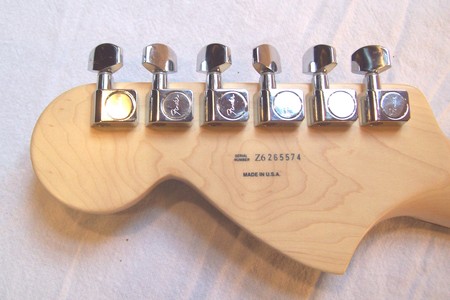
On these particular tuners you’ll need a ten-millimeter box wrench in order to remove them. Take all of the nuts and washers off, if the tuners don’t fall out by themselves gently tap the top of the tuner with a rubber mallet. Note that on the photo below the string tees are already removed. 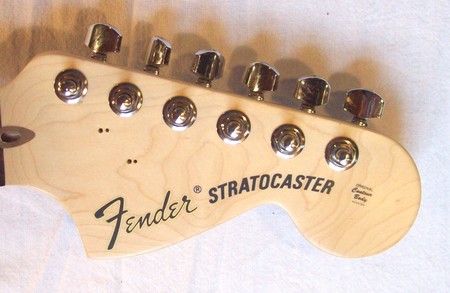
Below is a view of the headstock with the tuners removed. Note the two small holes next to each of the tuner holes. These are alignment holes that accept two small nubs on each tuner. This keeps the tuners in a strait line when installing, and also prevents any tuner twisting when tightening strings. If your building a guitar from scratch, and purchase an aftermarket neck, these small holes won’t be there. This presents a small challenge when trying to install late model tuners. Additionally if you purchase a neck that had tuners before, make sure you purchase the right tuners, otherwise you’ll end up with visible holes where the tuner screw used to go. 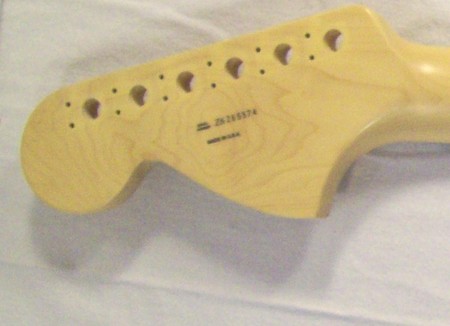
Let’s move onto the body of the guitar. Turn the body over so that you’re looking at the tremolo cover. Remove the six screws that hold the cover in place. 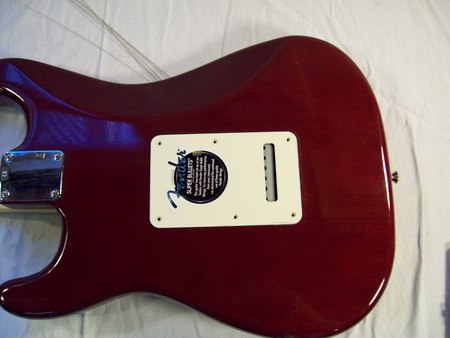
With the cover off you’ll notice springs that run between the tremolo block, and a claw. In this particular Fender stratocaster guitar there are five springs. It’s common to find, or use anywhere from three to five springs. The spring’s purpose is to be the counterbalance to the string tension. And depending on the strings you use you may need more or less springs. For example if you're a Stevie Ray Vaughn fan, and string up with a set of Earnie Ball 11-54’s your going to need more counterbalance tension. This is accomplished by both adding springs, and increasing spring tension by adjusting the claw away from the tremolo block. To remove the springs back off the two screws holding the spring claw until the springs are slack. Then simply pull the springs up and out of the cavity. 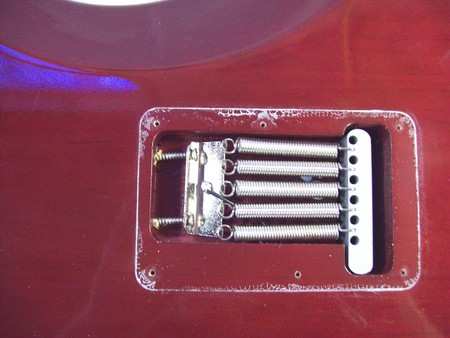
Note that there is a wire soldered to the tremolo claw (shown above). This of course needs to be detached to remove the claw. However it is imperative when building a guitar, or putting one back together, that this wire be reattached. For lack of a better term this is a ground wire. What it really does is keep the electrical potential difference the same between the strings and the pickups, without it you’ll get some real interesting sounds. With the wire removed from the Fender stratocaster guitar's spring claw, remove the two screws holding the claw. Note when installing a spring claw on a project strat it’s a good idea to coat the threads of the screws with some bees wax. This will prevent wear in the wooden screw holes, and also make adjustments easier. Click on the link for the second part of the Fender Stratocaster guitar dissection of a Fender stratocaster guitar. 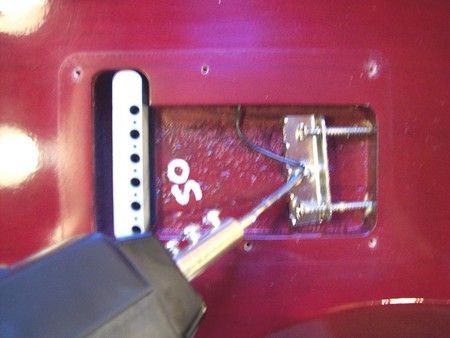
return from Highway one Fender Stratocaster Guitar to Electric Guitar Info home |


