|
Fender Highway One Stratocaster, a continuation of the dissection of a strat
With the spring claw out of the Fender highway one, turn the body over. Remove the six screws holding the bridge in and remove. On this particular guitar the tremolo mounts with six screws. This is unique to the highway one, and other vintage strat designs, and is the original tremolo mounting used by Fender. Newer mounts use two screws, or points, to mount the tremolo. If you’re building a strat from scratch you’ll have to choose what type of tremolo you’ll want to use. If you bought a body with six holes already drilled, keep in mind that two, six hole, screw patterns were used by Fender. Measuring from outside screw hole to outside screw hole you may have either a 2-1/16″ spacing or a 2-3/16″ spacing. If you want the modern two point tremolo, even if your body has already been drilled, that’s still possible, and I’ll show you how in a later tutorial. 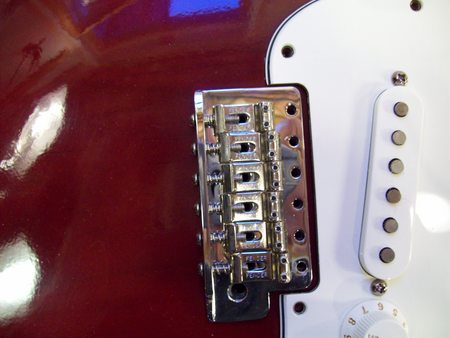
With the bridge removed, take the two screws out that hold the output jack in place. Flip the output jack over and de-solder the wires from the jack. It’s wise, though I don’t show it here, to put some cardboard under the jack before de-soldering. A hot drop of solder on body finish will ruin your week. If installing an output jack remember to keep the polarity correct. The black wire goes to the shorter jack stub, the white wire goes to the longer stub. 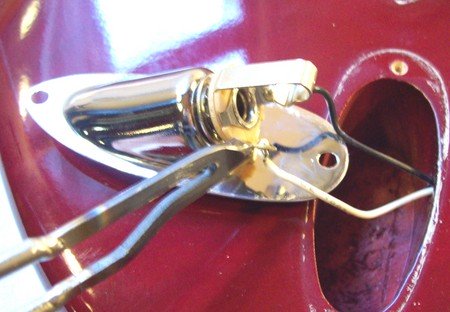
With the output jack out, remove the 11 screws holding the pickguard in place to the body of the Fender Highway one. On some older models and newer vintage models, the pickguard is held in place with eight screws. Once the screws have been remove lift the pickguard from the guitar body. Place off to the side a little being careful not to scratch the body. Pull the two wires from the output jack through the body cavity hole, and the one wire from the spring claw cavity hole. Then unscrew the ground lug screw that’s in the pickup chamber. 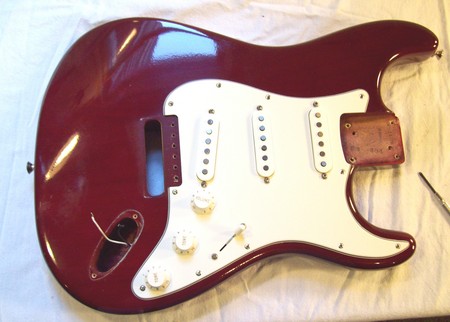
With the pickguard removed you can see the color of the body cavity is black. This is not just for looks, this black paint is metallic, and is applied to the body cavity to prevent noise from ground loops, and outside electromagnetic interference. If you’re building a new strat with a new wood body, it’s important that you shield the pickup cavity. This can be done using purchased metallic paint, or thin copper soldered together. I’ll be posting a tutorial on how so shield the cavity using thin copper soon. 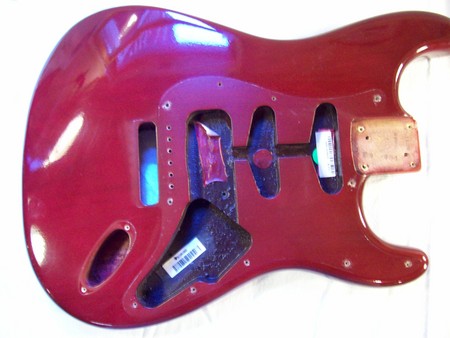
This is the back of the pickguard with the three pickups, five way selector switch, 250kOhm volume pot, and two 250kohm. The highway one is wired so that one tone pot controls the bridge pickup, and the other controls the neck pickup, the center pickup has no tone control. In another tutorial I’m going to go over the many different ways to wire up a strat, with some cool preamp modifications as well. 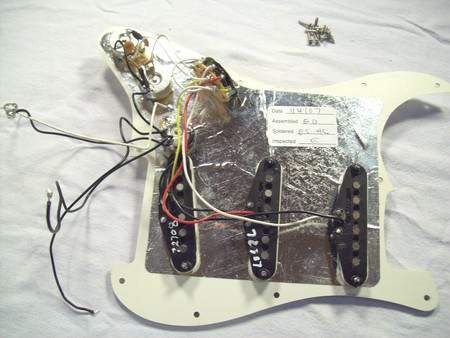
Other than showing you how to remove the strap holders that’s pretty much all there is to the Fender highway one. Assembly is pretty much the reverse, however keep in mind there are a bunch of set up tricks, and fine tuning I’m going to get into later. return to part one of this section. ,to return to the first part of this two part series. 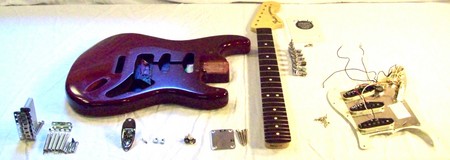
return from Fender Highway one to Electric Guitar Info home |


