


|
Installing an Electric Guitar Shield
Installing an electric guitar shield is an easy way to eliminate a lot of unwanted noise. An electric guitar with single coil pickups, can have a great deal of hum and noise. Single coil pickups by nature are very susceptible to outside electromagnetic interference. Unlike their humbucker counterparts, they have a single winding around their magnets which allows external magnetic fields, especially those created by normal home wiring, to enter the signal path. This noise translates into that 50-60 hertz hum we all know too well. I'm going to put an electric Guitar shield in a strat I built using an aftermarket ash body. I installed fender Tex Mex pickups that have a really nice bark too them, they also produce a great deal of noise in a totally unprotected body cavity. Now most production guitars come with shield already applied in the form of a metallic paint. If you remove the pickguard from a modern day strat, it will have a black coating in the pickguard cavity. This sometimes works, but for more vintage style guitars, with single coil pickups, it doesn't cut it. If you own a guitar with noiseless pickups this exercise is an effort in futility. If you have noiseless pickups, and your getting hum, it's probably due to ground loops, a topic that I will address later. The first thing to do is remove the pickguard. I'm going to assume for this exercise that the back of your pickguard is already shielded. If the pickguard has what looks like aluminum foil under the tone/volume pots, and the pickups your good. If there is simply foil, or a metal plate, under the tone/volume pots and not the pickups, you must shield the pickguard. With the pickguard removed use some blue or green painters tape, and tape the body up thoroughly. Don't use regular masking tape or, god forbid, duct tape. You'll never get the adhesive off without some sort of thinner. 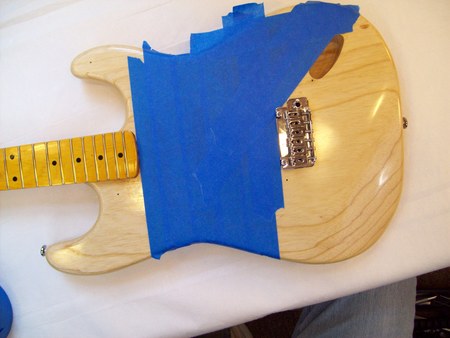
With the body taped, use a single edge razor blade or hobby knife, and carefully cut along the edge of the body cavity. The sharper the blade the better. Once you get the majority of the tape out, go around and trim any excess off so that your setup looks like the one below. 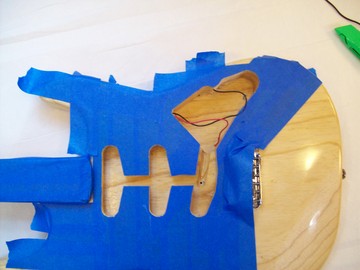
Notice that I have taped the neck up as well. The copper foil I'm using has no adhesive back, so I have to use adhesive. I recommend 3M super 77 adhesive. It sticks like crazy, just make sure you tape up everything real well. After the tape is cut out place a piece of tracing paper over the body cavity, and then tape it in place. Using a strait edge razor or hobby knife carefully cut along the sides of the body cavity. 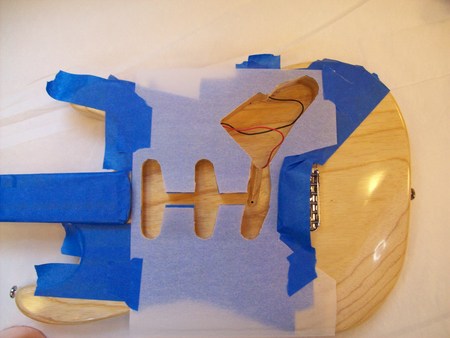
With the tracing paper you should now have a template. Lay the tracing paper over your copper, and firmly tape in placing using see through tape. A footnote about copper: What you see in my example is actual roofing copper you can buy at a home improvement center. In my other life I'm a contractor, so this stuff was just laying around. You don't need to use this heavy of a gauge for an electric guitar shield. Many online music stores sell copper foil, some even with an adhesive back, that will work just fine. 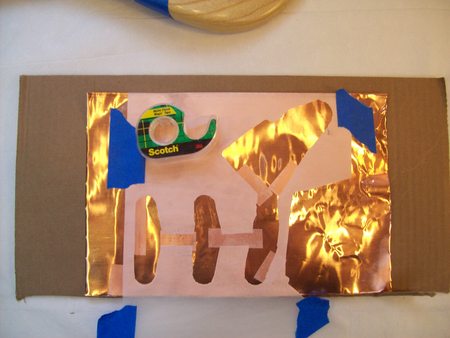
With the tracing paper template taped firmly to the copper, use a utility knife or razor blade to cut the copper. Make sure your on a wood bench or cardboard when cutting. Cut the copper and actually take a little tracing paper, maybe a 16th of an inch, along with it. This will give you a little bend up the sidewalls of the body cavity, and will tie the side pieces to this bottom piece. 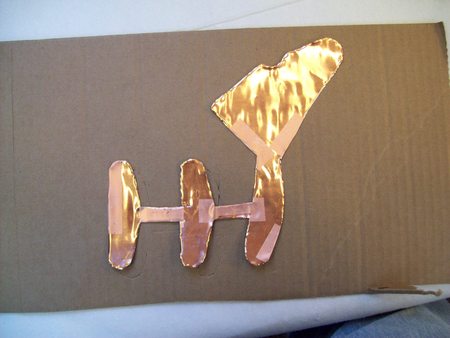
Once you have the copper cut out place it roughly in the cavity. The body cavity has two elevations that separate the pickups, from the electronics. Cut the copper to fit each elevation to form the electric guitar shield. Now spray the cavity with adhesive and place the copper in. Use a small wood dowel, or similar, and press the copper into place. It's very malleable and should smooth out nicely. 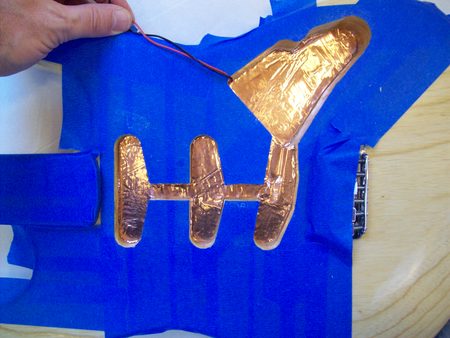
Once the bottom has been smoothed out have some copper strips ready for the sides of the body cavity. When cutting the strips make sure the are a little wider so that they fold over the opening. This will create good continuity with the shield on the back of the pickguard. 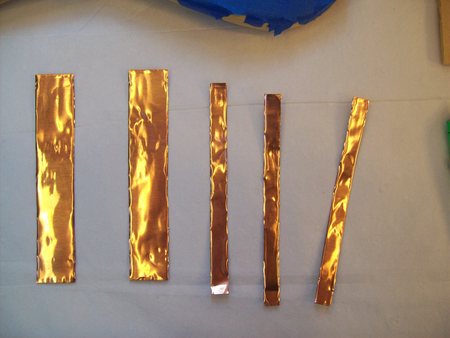
CAUTION: 3M SUPER 77 ADHESIVE IS REALLY FLAMMABLE. The 3M adhesive stays tacky for some time so don't rush too fast. Place the copper strips up against the sidewall of the body cavity. Make sure they go all the way to the bottom. Once the strips are in place let the adhesive dry for an hour or so. You can then solder any breaches in the shield, as well as sporadically solder the side copper to the bottom copper. As well as soldering any seams together. Don't forget about the ground wire coming from the bridge, or tremolo. Poke it up through and solder that to the shield. 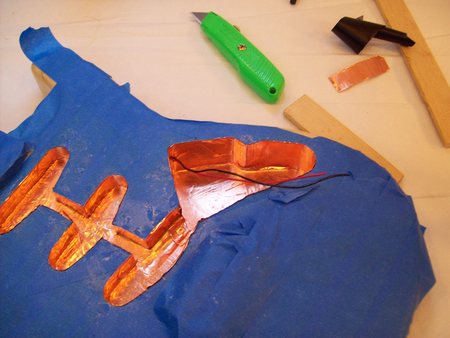
Make sure that you bend all of the copper sticking up over onto the top of the body. You can make small relief cuts with your knife around the radius's. Once you've soldered any gaps and/or seams you're ready to put the guitar back together. You should have an electric guitar shield that looks something like the image below. 
The installation of the electric guitar shield makes a marked improvement over what I had before. There is significantly less noise than before. Keep in mind I had no shielding before, so my result was pretty profound. As with all single coil pickups you'll never eliminate all noise, but the quieter the better.
return from Electric Guitar Shielding to Electric Guitar Info home |